Setting up your build environment
catkin
Catkin is the recommended dependency manager for use with ROS. Most packages added to the KR github will be intended for use with catkin. Instructions for setting up a catkin workspace are available on the ROS wiki. Adding a new package to your catkin workspace is straightforward.
Linking packages into your catkin workspace
When managing a large project with multiple packages, it is usually convenient to keep your workspace separate from the git folder. This is achieved by symbolically linking your packages into the catkin src folder.
Example
For the following example we suppose the following directory structure exists:
~/Documents/catkin  <-- Root of the catkin workspace
~/Documents/code    <-- Folder where you store your git repositories
If you wanted to clone the bluefox2 package and add it to your catkin workspace, you would do the following:
cd ~/Documents/code
git clone https://github.com/KumarRobotics/bluefox2
ln -s bluefox2 ~/Documents/catkin/src/bluefox2
Of course, you do not have to link to the root of a git repository. You can link to any folder which is itself a catkin package, or which contains catkin packages.
Qt Creator
Qt Creator is a fast, powerful and, cross-platform c++ development IDE. It is actively maintained by the Digia corporation, and is freely available under the LGPL licensing scheme. Qt integrates easily with cmake projects, and offers an elegant GUI development toolkit for Qt - the recommended platform for building graphical ROS applications.
Launching Qt Creator
In order to access the necessary environment variables (ROS_PACKAGE_PATH, ROS_MASTER_URI, etc) Qt Creator must be started from the command line. Alternatively, you can make a desktop launcher by following the instructions here.
ROS Packages in Qt Creator
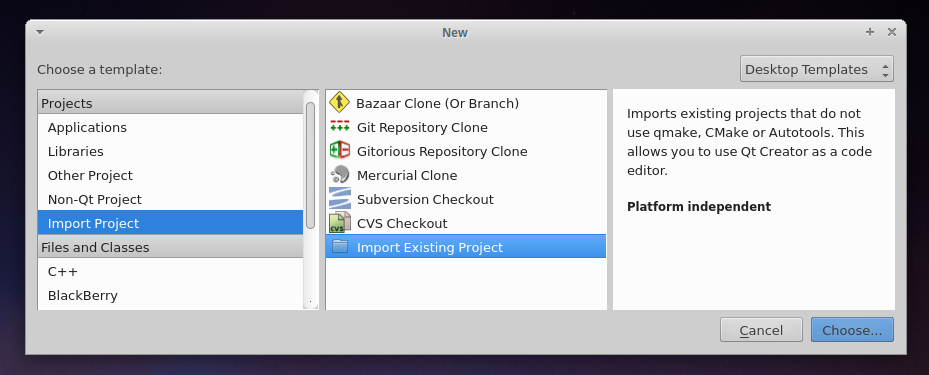
To use Qt Creator with your ROS package. Create a new project with the File -> New File or Project action. Select the Import Project -> Import Existing Project, as illustrated below:
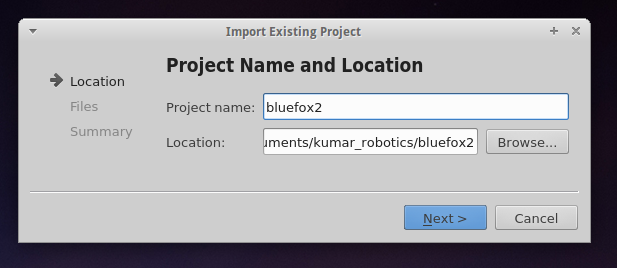
Assign your project a sensible name, and select the location as the package directory (in which your src directory resides):
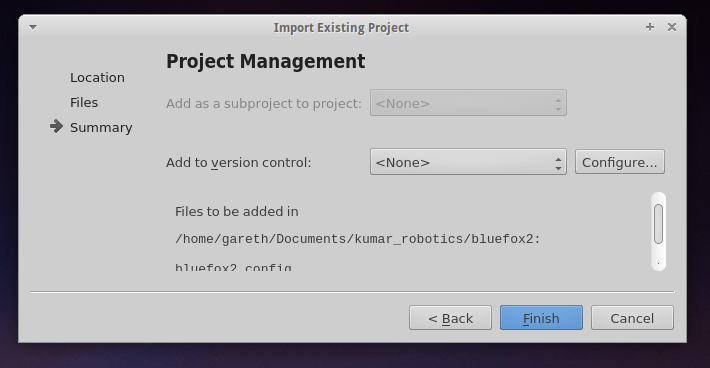
You will be asked to import files. Select directories which contain headers and source files. When prompted to select project options, you should NOT add the IDE files to version control - these are specific to your machine.
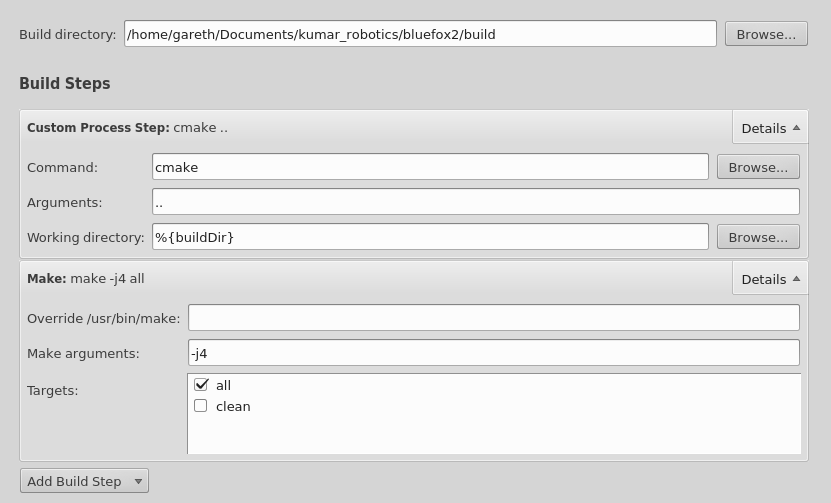
Lastly, you must configure the Qt Creator build settings correctly. Navigate to the Projects menu in the mode selector (accessible from Window -> Show Mode Selector).
Append build to the build directory (you may need to create this directory yourself). Then add a custom build step which performs the operation cmake .. (.. is the argument). You may also optionally add -j4 to the make arguments in order to parallelize builds. See the image below for an example of valid settings.
If you wish for Qt Creator to index a set of headers that are not on the default path, add them to your .includes file in QtCreator. For example:
include
build/devel/include
will index your project headers and generated project headers (such as messages).
Better Qt Creator
Themes
Qt creator ships with aweful color schemes. You should change it to increase your productivity. Go get qtcreator-themes for better color schemes.
Beautifier
Beautifier is QtCreator plugin that helps you format your code. It supports astyle, clang-format and uncrustify. We recommend using clang-format. To get clang-format, just do:
sudo apt-get install clang-format-3.5
Go to Help -> About Plugins..., under C++ click Beautifier. Then restart.
After restart, go to Tools -> Options -> Beautifier, and setup your clang-format.